Hey there friends and family and mystery sewers … how in the world are you??? I just realized it’s been about THREE WEEKS since my last confession post. Gosh. As we say here in Texas, “That ain’t right!”
You’ve probably guessed that my world has been a little rocked by my $35 Strapless Dress Revolution. You are correct! I’ve sold 35 dresses so far – HUGE THANK YOU to all of you! So, I’m a little bit holed up on my sewing wall whenever my lame-non-sewing kids allow me the time. Hopefully I’ll get caught up soon.
Anyway … I just couldn’t go another minute without passing along another easy project for y’all. I realized today that I have never ever ever posted a tutorial for how to make a zipper pouch. Seriously, y’all – how come no one has been harping??? Too late, you missed your chance because here’s a tutorial for how to make one of these little darlings:
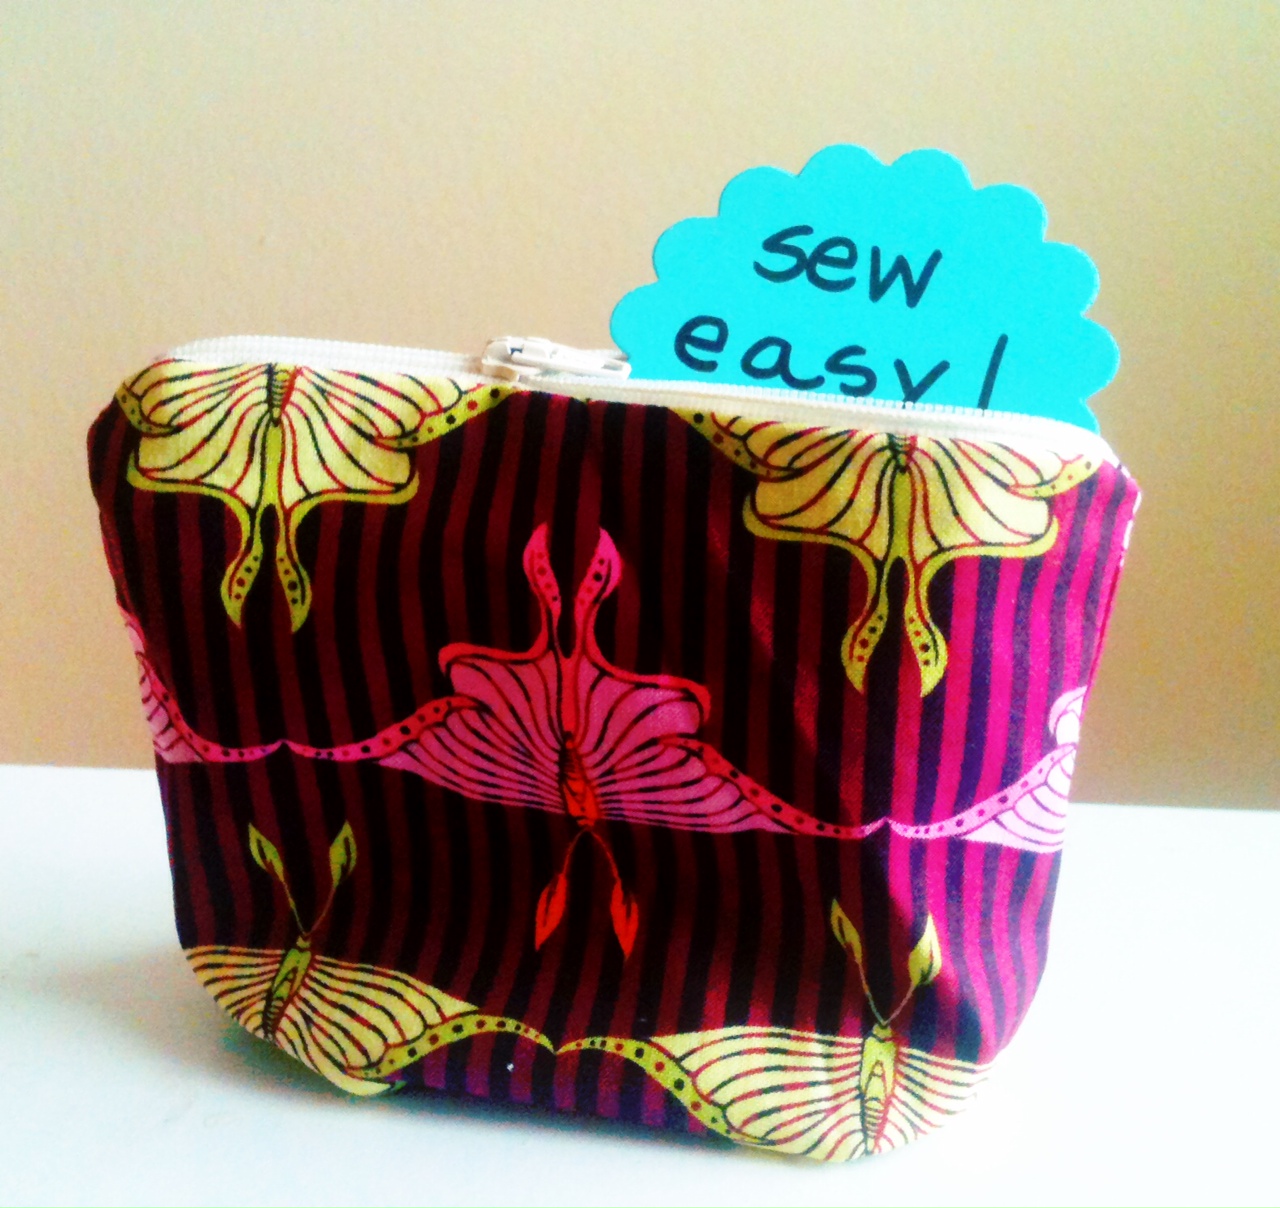

And yes, it's even lined! I know - you're welcome!
How to Make a Lined Zipper Pouch – without a pattern!

This may sound strange, but I prefer to start with the zipper .. meaning, the size of your zipper should determine the size (or atleast WIDTH) of your pouch. You'll want your zipper to be LONGER than the width of your fabric by atleast an inch or two on each side. This makes sewing up the sides so much easier!

I rarely measure, I just make sure that my fabric is narrower than my zipper - just like what you see here. You can make it as long as you want though. Decide on your outer fabric and cut two equal shapes.

Choose your lining fabric, and cut two more shapes the same size.

Now here's where you want to pay attention - we're going to be layering, and the order is very important. Start by placing one piece of your OUTER FABRIC face up. Then, along the upper width, place your zipper wrong size up and centered over the fabric.

See how the zipper pull is on the bottom not the top!

Now take one of your LINING pieces, and lay it on top of the zipper and outer fabric. You will want all three pieces (outer fabric, zipper, lining fabric) to align at the very top. You can pin if you prefer. No sew the two fabric pieces to the zipper.

When you open it up, it should look like this.

Okay, follow closely. Lay the remaining OUTER FABRIC piece face up. Turn your sewn section over so that the zipper pull is now on the opposite side but still facing down. Place the remaining LINING fabrin, on top of the entire set, face down. Look closely at the picture. You are aligning the two remaining fabric pieces at the top of the zipper, while the pieces already sewn are dangling down a little bit in the middle of the fabric sandwich.

Once you sew up the second size to the zipper, you'll have something that looks like this. Both OUTER FABRIC pieces on one side and the LINING pieces on the other, right sides facing each other.

And from another angle, this is what you'll see. Get excited now, because you are almost finished!

Lay out your pouch with the two sides separated. Unzip the zipper about halfway. Overlap the opening ends of the zipper just a bit. Now, sew a continuous seam all the way around the entire project - beginning with the lining and LEAVE AN OPENING for turning. (Apparently, my machine sews a straighter stitch than my fingers can draw one. relief!)

Clip the excess off the zipper at the sides, and then turn the pouch right side out by pulling everything through the opening. Use a pair of scissors to poke out the corners of the outer fabric.

Sew up that opening - and yes, duh, clip your fray thread! Then, tuck that little lining into your pouch....

And you got yourself a pouch that looks like this!

And it's beautiful on the inside too - are you as ecstatic as I am right now?!?!

If you want, you can tuck in the corners (okay, you can SEW them in also, but who has the extra 30 seconds to do that!?) and your pouch can stand on its own. Ta Da!
So there you go fun people – your very own lined zipper pouch in less than 10 minutes. (DISCLAIMER: the first time will take you longer because your eyes get all whomperjawed trying to figure out the order and placement. Don’t worry, it’s gets WAY faster!)
Here’s the breakdown:
Cost: about $3 – depending upon which size zipper you get..cheaper if you thrift them or steal borrow them from your mother’s stash. You can easily use scrap fabric, so there’s no charge there!
Time: seriously and realistically – TEN MINUTES … if you give yourself a little longer for a time or two!
I love these. I really really do. Every time I make one I get a little bit happier in life. I hope you do too!


Thanks for for the tutorial,i will try it ,hope it look as neat as yours.all the best to you
Reblogged this on TheForeverRemember.
great job showing how to put the bag together and really pertty keep showing your great creations
great tutorial love the fabric you picked very very easy to follow thanks keep your tutorials cominng
Very cute!
*New follower, found you through LiveMom.com.
great thank you!
I made it! Your tutorial really made sense. I got excited at the step you said to get excited on, but then I got really nervous because I couldn’t visualize the turning, but it turned out perfectly! I added some really stiff fusible interfacing and I love it. It is a gift for my sister in law who knits. Here is it:
http://thebusybeequiltshop.blogspot.com/2012/03/my-first-pouch-and-zipper.html
It is life changing. Thx Robie!
Yahoo… I like the way you tackled this! My satchel needs organizing, the plastic bags I was using to contain my what-nots are all torn up… its like I have a plastic bag eating gerbil in my purse. Having plenty of extra fabric, I’ve been wanting to make zip pouches, but I’ve never sewn in a zipper and thought I’d have to be super precise (no fun). The last thing I sewed was a DIY tea bag using a coffe filter.
Okay, this is seriously the third time I am following this tutorial. It is the BEST! Thanks again so much!
This tutorial is so AWESOME!! And so easy to follow! I made one of these pouches and it came out great!! thanks !! keep posting these tutorials girl!!
Thank you for the tutorial! I do these once in a while, and I always forget the right order in the layering….so I need tutorials online 🙂
Love this in fact I love it so much I’ve just made myself one. Your tutorial was really easy to follow and I will be making some more in different sizes once I buy myself some more zippers that are big enough
Jackie
[…] I’m going to make some in various sizes to give to our teachers as holiday gifts. Maybe I’ll have the kids use fabric marker to write a message, too. For a great lined zipper pouch tutorial, check out So Sew Something. […]
Just made this little pouch. Quilted mine and added a wrist strap. Thanks for the tutorial 🙂
Thank you for sharing your talents!! I was afraid of tackling the dreaded zipper, but it was easy with your instructions. I used two different fabrics for my outside (sort of like a border) and top stitched it where they met & also top stitched by the zipper to make sure the lining never catches in the zipper. I also used iron on interfacing to the outside fabric to make it a bit stiffer. I’ll definitely be making more of these bags as soon as I can get to the store to buy zippers. Thank you, thank you!!!!
Thanks so much. I am no longer zipper challenged
Thank you for a great tute, very easy to follow – 1st one took me around 45 minutes – it was only the 2nd time I had ever tried inserting a zipper (it was a bit wonky, but I was so pleased with myself!) but your photos made it easy to work out what should go where! Second time I made it it only took me half an hour, I lined it with some wadding and made it skinnier so i could use it as a media pouch – this is such a cool pattern you can do what you fancy! Thanks again
Love your tute. Thank you so much.
Did you use a zipper foot for the first two stitching steps?
[…] done. It’s that easy! Zipadee-Do-Riffic! Here’s how I did it. And, also here’s another helpful online tutorial that I referenced to make sure I was laying my fabric correctly. 1. Cut four pieces of fabric, […]
[…] followed this tutorial by ‘So Sew Something’ and it was so easy. This was my first attempt at a zipper and […]
I’m hoping I can put some insulating fabric in between the two so that I can put some yogurt and cheese in it for a very long flight I have with my two kiddos.
Oh thank you so much! This is seriously the easiest zippered pouch I have ever made. I am having a happy day!!!!!
This looks like lots of fun. I’m helping a group of Austic kids learn to see and they are having a ton of fun! This will be our next project!
Thanks again
J
OMG! Love, love, love…
way easier than I have been doing with my clutches…
Thank YOU 🙂
Thanks for the tutorial. You made it absolutely easy 🙂
[…] are dozens of online tutorials for making zipper pouches; two of my favorites can be found at sosewsomething and […]
Fantastic tutorial, love your choice of fabric, will give this a try.
I have just completed my second zip up purse. The first one was yesterday and although I did it, it wasn’t easy and made my brain ache as I was trying to work it out for myself. But, thanks to a link to this tutorial from a friend and your great instructions, I have now made today’s and it was easy and looks good! Thank you!
Omg I’m in collage and this pouch is perfect. My friends r allways asking where did I get it and I said its 1 of a kind. Anyway thank u 4 a supper easy way 2 make a pouch. 😃😃😃
Oh my, your tutorial was fantastic! I really did make one in 15 minutes tops! I shall definitely be making more. Thank you!
Oh my, this was just what I needed and I whipped one up in under 15 minutes! Thank you! I guess this is what everyone will be getting for Christmas this year!
I just used this to make a purse/ messenger bag for myself. After a few frustrating hours, I finished! Thanks for the tutuorial.
Just made one myself 😀
Thanks for the tutorial. I just made a tote out of a feed bag and with the leftover part of the bag, I made a pouch following your tutorial!
[…] basically doing the same thing I do for my LINED ZIPPER POUCHES… only I’m not lining these. If you’re using stuffing instead of a pillow form, […]
[…] and outside pieces to the zipper and then to themselves. I used these two tutorials (one & two) as a guide which provide perfect instructions (better than I could […]
Best tutorial out, thank you so much. I do have one question though, Im wanting to make this as a cross body bag but how would you add the straps? Thanks 🙂
Thanks a lot for posting! I am wanting to make a bag that has a liner on the inside that is waterproof, are there any materials you suggest?
Hi there – I would suggest oil cloth or laminated cotton for the lining! Good luck!
Thank you for the tutorial! I need a little guidance. My zipper is quite a bit longer than my pouch. Do I line the front part with the pouch (how far out should it extend), and then how much of the zipper at the end should I leave after I cut it? What stops the zipper from coming off if I cut the ends and remove those stopper thingys? LOL. Any help would be appreciated. Thank you again! 🙂
Hi Amy!
Your zipper can be 180 feet longer than your pouch, there’s no problem with that. Just make sure to unzip it halfway before you sew up the sides. Do NOT cut/trim the zipper until you’ve sewn the sides – this is what stops the zipper. Does this help?
Thank you so much for taking the time out to reply to me. Yes, that does help me. Zippers are not my specialty. LOL. They are very intimidating to a newbie sewer.
I really appreciate your blog and instructions. They’re priceless to me.
Thanks again and take care!!
Thank you for the wonderful tutorial. Sewing zippers always intimidated me. After seeing your tutorial, I just sewed myself a make-up pouch and it turned out beautiful!! I know what I’m giving my friends this coming Christmas and it’s all thanks to you. Thanks once again.
[…] Ellen did more than knit these last few weeks – she sewed, too! Holiday napkins and also a knitting project bag, nicely lined and zipped. Tutorial here and here. […]
Thanks for the great tutorial. I needed quick gifts for my family and friends and this was perfect. Using scrap fabric and an assortment of zipppers I was able to whip up 8 of them in no time at all!
[…] Get the free purse pattern here […]
[…] zipper pouch pattern that Dawn had shared a while back. It was so super-easy! You have to try out this pattern! Seriously! I am addicted and now the boys each want one. I knew […]
You are sooo smart! Just put together the lined zippered bag on your tutorial and it it perfect! Only made one little mistake and was purely user error. Tried to make this on my own but was a shot in the dark until I googled and found your tutorial.Your. directions are clear and easy to follow! BRAVO! Thanks again! New follower! Marylou
Wow that was strange. I just wrote an really long comment but after I clicked submit my comment didn’t
appear. Grrrr… well I’m not writing all that over again.
Anyhow, just wanted to say wonderful blog!
[…] Box Paper Piecing Pattern block. If you want to make a super cool clutch too, check out this great tutorial I found through […]
I’m a 50 yr. old dad with a VERY stressful job. I’ve recently started taking a sewing class to have a fun and stress-relieving hobby. I love the idea of making things people can use. I was intimidated by this tutorial, but I’ve referred back to it several times over the last week. Today, I attempted it SLOWLY, and I am really happy that it turned out the way you said it would! I’m no expert by any means, but recently learned how to hem pants. This week I will learn how to take in the sides of a dress shirt, because I’m not paying $12-$18 the local alteration shop wants….. I also want to learn how to make a flannel shirt, and how to make basketball shorts for my teenage son, because he’s very tall and it’s hard to find the fit the likes. But this lined bag is a really fun activity, and I’m happy to say my niece just saw this bag and wants it for her spare change.
Matt – this thrills me to no end!!! Thank you for taking the time to share this with me. I hope there are many many more wonderful projects in your future!
Great tutorial. Thanks very much. I found a way to use a crepe Kimono fat quarter I was given as a gift.
Dear Robie,
Just searching pinterest for snack bag ideas and I found yours! I always love you work…love your blog too. I’m back in Austin, lets get together again soon!
i was searching for an easy way to do zippers. never done zippers always velcro or buttons. after searching i found your site and the cute lined pouch. so now i made two so far many to come..your tute is very good for me. followed it to the tee.. and thet are very easy to do. thank you so much for having this tute for someone that was afraid of zipper uses…
Thanks so much for posting such an easy to read and see tutorial. I made mine from vintage doilies and scrap fabric, Love it!
[…] looking for some kind of instructions to help me out. I found a couple of helpful tutorials (this one and this one) and we pretty much just figured it out as we went. There was a lot of seam ripping […]